How to delete your data from your old devices
We store the entirety of our digital lives on the devices we use the most like our phones and computers. Unfortunately, when many people trade in their old gadgets for newer, faster ones, they don’t delete that data.
That’s a huge problem. If you’re not careful, a stranger can access not only your photos, but your emails and web history as well. And you don’t want anyone looking at your web history, right? I didn’t think so.
But you don’t want to just delete all of your data and start fresh. Instead, you’ll need to back up your old device, so you carry your info over to your new gadget.
It sounds like a lot of work, but if you follow these steps, you’ll be done in no time.
Apple iOS
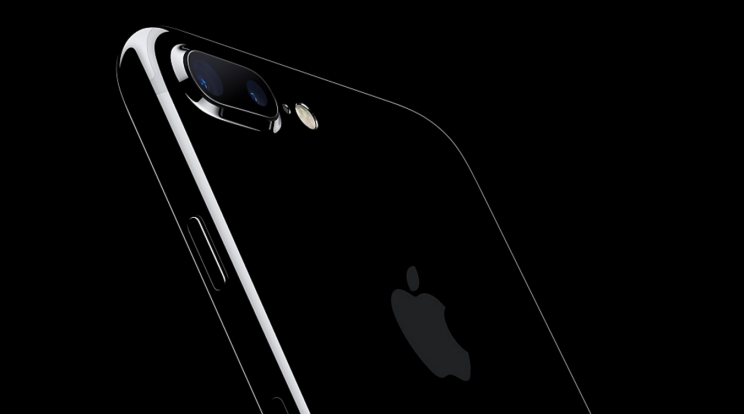
Let’s start things off with Apple’s iPhone and iPad. You’ve got two options when it comes to backing up your iPhone: Apple’s (AAPL) iCloud or a physical external drive.
Back up your data
To back up your iPhone via to your computer, connect your phone to your PC or Mac and Launch the iTunes app.
Next, click the small “Device” button near the top left corner of the screen and select “Back Up Now” under “Manually Back Up and Restore.” Your computer will automatically begin backing up your phone.
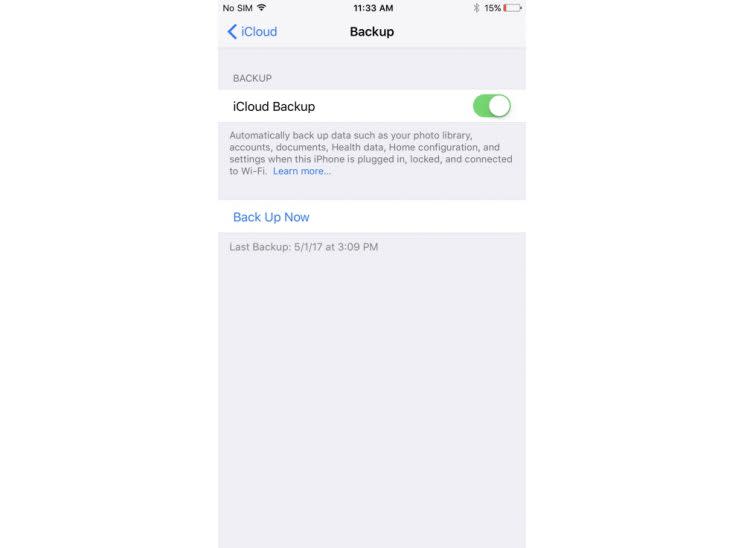
To back up your handset to iCloud, open the Settings app, and tap your name at the top of the screen. From here, select “iCloud” then scroll down and choose “iCloud Backup.” Tap “Back Up Now” and your iPhone will begin backing itself up to the cloud.
Delete your data
Now that you’ve backed up your data, you can reset your old device. To do this, open the Settings app and tap “General.” Scroll down to the bottom of the screen and choose “Reset.”
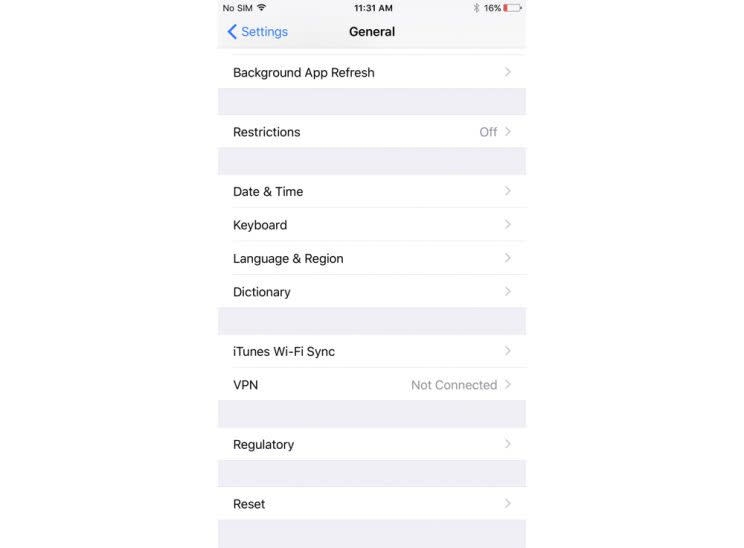
Next, select “Erase all Content and Settings.” You’ll then be prompted to enter your iPhone’s password. Enter it and select the “Delete iPhone” prompt at the bottom of the screen.
You can now donate, sell or recycle your iPhone or iPad as you please.
Google Android

Google’s (GOOG, GOOGL) Android is the most widely used mobile operating system in the world, so chances are you or someone you know needs to ditch an old Android smartphone or tablet.
Back up your data
To back up your data, open the Android Settings app, or slide down the Notifications shade and tap the gear icon. From there, scroll down to “Personal” and select “Back up & reset.”
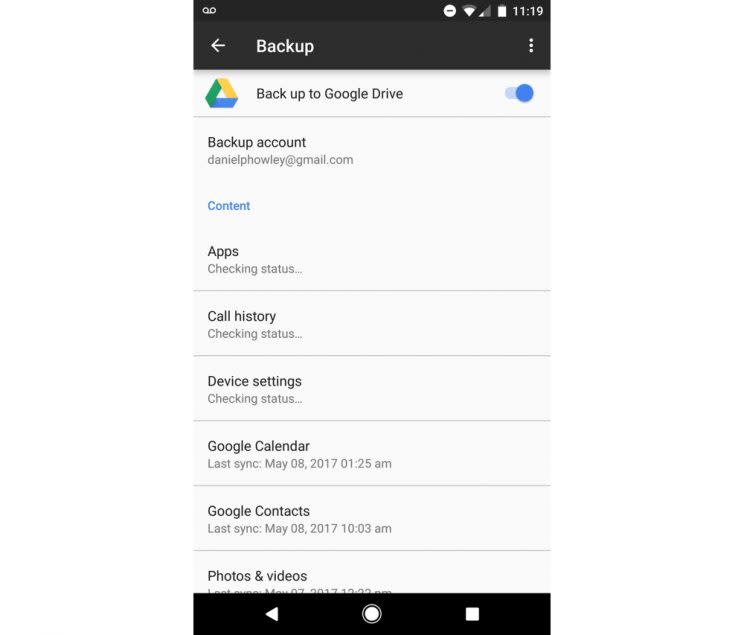
Ensure the “Back up to Google Drive” option is enabled, and tap “Back Up Account.” You’re all set.
Delete your data
With your data backed up, you can now scrub your information from your phone or tablet. To do that, open the Settings app again, scroll down to “Personal” and select “Back up & reset.”

Choose “Factory data reset” and tap “Reset Phone” at the bottom of the screen. Enter your security password, and your data will be completely deleted from your device.
Microsoft Windows 10
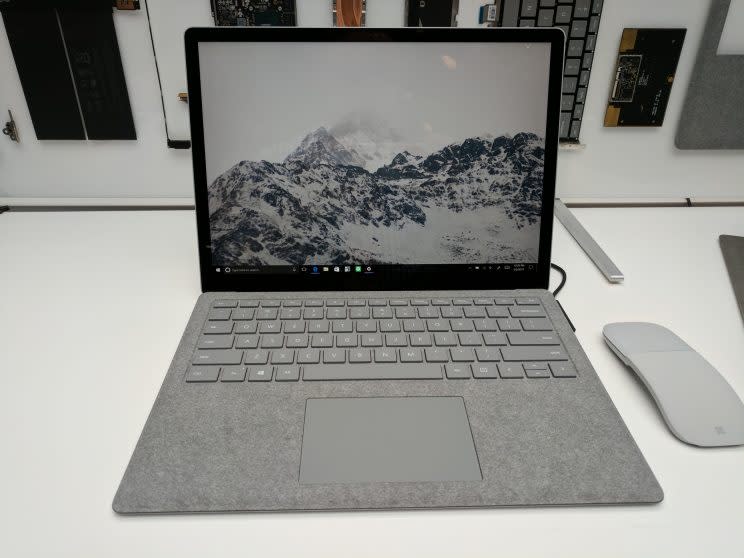
Getting rid of your old Microsoft (MSFT) Windows-powered PC? You’re probably going to want to hold on to all of those old photos and files you’ve saved over the year.
Back up your data
If you’ve got a thumb drive or other kind of external storage device, you’ll want to plug it into your computer.
Next, open the Start menu and click the gear icon in the bottom left corner of the screen and select Update & security. Click “Back up” and then select the plus sign next to “Add a drive.”
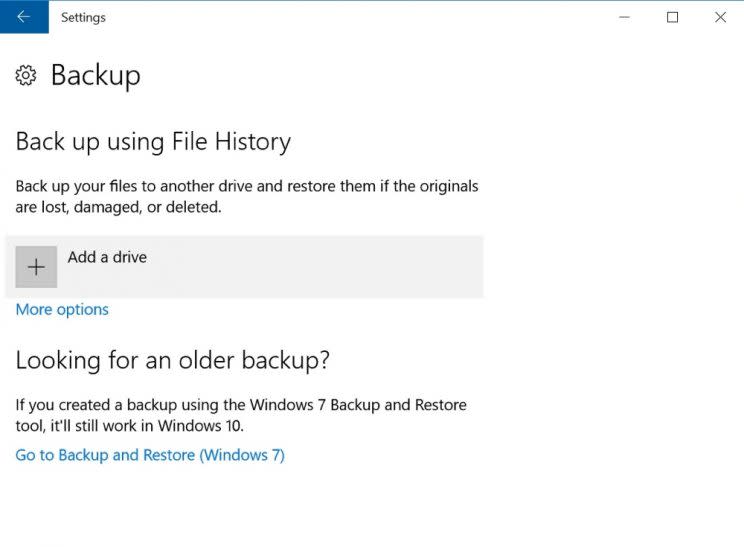
Now, choose the drive to which you want to back up your data. Next click “More options” under Automatically back up my files and scroll down to “Add a folder.” From here you can choose which files you’d like to back up to your device.
Scroll up the page and click “Back up now,” and you’re set.
Delete your data
With your data all backed up, you can now clear your PC of all of your files. Thankfully, Microsoft has made the process far easier to do this in Windows 10 versus prior versions of the operating system.
Open the Settings app by clicking the gear icon in the Start menu again, and select Update & security. Scroll down to and select Recovery then click “Get started” under Reset this PC.
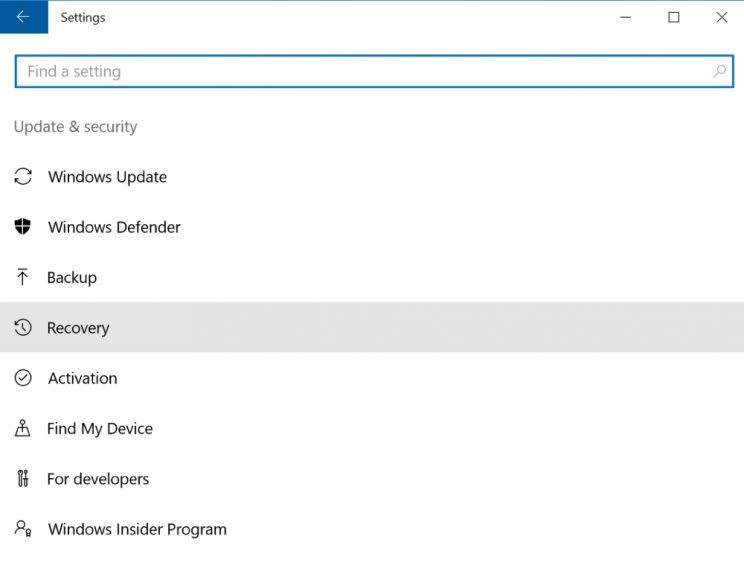
Select “Remove everything” on the next page and then choose “Remove files and clean the drive.” This will completely remove all of your files, programs and settings from your machine.
Apple macOS
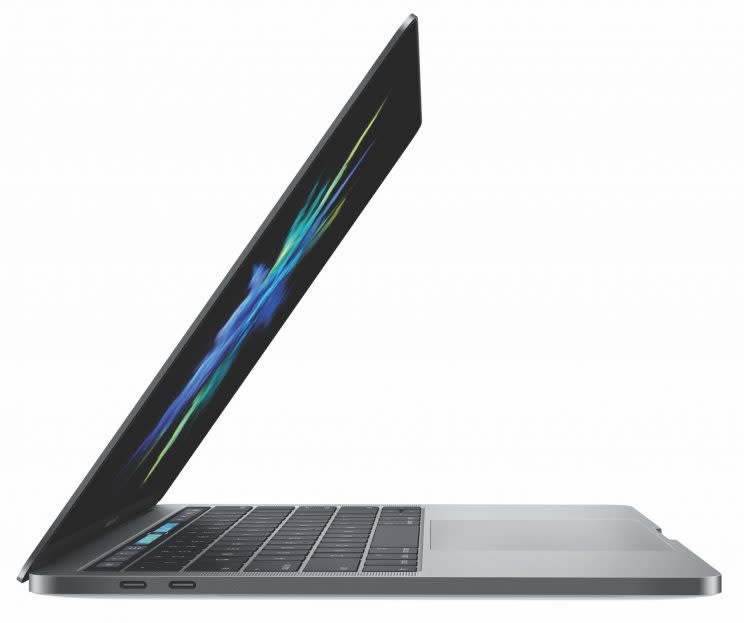
Apple’s Mac desktops and MacBook laptops are known for their longevity, but eventually you’re going to have to retire your aluminum-covered machine due to old age. Before you do that, though, you’ll need to back up and delete your data.
Back up your data
Apple’s macOS has a built-in program for backing up your data called Time Machine. To use it, click the Apple icon in the top left corner of any screen and select “System Preferences.” From here select the Time Machine app and choose “Select Backup Disk.”
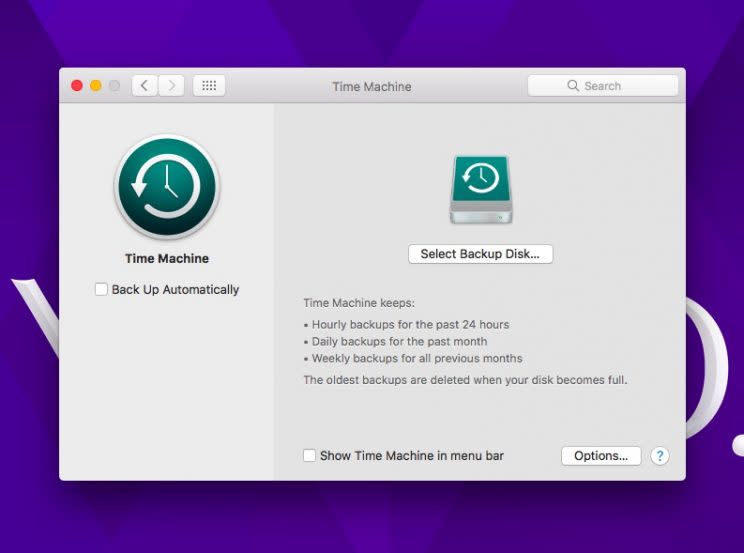
Connect an external drive to your Mac and then select it from the available list. Back up your data, and your information will be saved to your drive.
Delete your data
Okay, now that you’ve backed your information up, you can delete it from your machine. To do that, Apple suggests beginning by signing out of your iTunes, iMessage and iCloud accounts.
Next, restart your Mac and, while it’s rebooting, hold down the Command and R buttons at the same time until you come to the Disk Utility screen. Select Disk Utility, click your Mac’s main storage model and then choose “Unmount” and “Erase.”
Next, quit the Disk Utility and click “Reinstall” and “Continue.” Follow the on-screen prompts and you’ll have a freshly cleared Mac.
Once you’ve cleaned up your device, you can choose to donate it, sell it or recycle it properly. Then, you can head out and get a totally new gadget. Because why wouldn’t you?
More from Dan:
Warren Buffett: AI is good for society but ‘enormously disruptive’
Apple CEO Tim Cook: Why we’re withholding royalties owed to Qualcomm
Acer’s $9,000, 21-inch curved Predator 21X laptop is overkill brought to life
Google’s updated Earth app will destroy your free timeHow to cash in on your old tech gadgets
Email Daniel at [email protected]; follow him on Twitter at @DanielHowley.
